


This step is the reason why so many fiberglass "repairs" crack again. Many people not familiar with fiberglass repair will just grind into the crack some and 'glass over it(or even worse, just fill it with kitty hair or bondo). By doing that you're just covering it up, not actually fixing it.
Think of it like this: You can tape over your door seams, and the side of the car will look smooth. But, there is still a giant seam between the door and the body, and the door can still easily be opened. Just because you can't see the seam anymore doesn't mean it's not there, and just because it's not visible doesn't mean it's solidly immovable. Cracked fiberglass works the same way. If you don't completely remove the crack, the two broken halves will continue to flex independently, eventually causing the "repair" to crack again.
As I mentioned before, I'm using Evercoat's SMC resin. I've decided I like it for one reason: it doesn't use standard fiberglass hardener. Unlike standard resin which uses MEKP as a catalyst, the SMC resin uses the same cream hardener that bondo uses. Tangentially related fun fact: the chemical in bondo hardener that does the catalyzing is Benzoyl Peroxide, which is also the active ingredient in Clearasil and other acne fighting products. The reason I bring up the hardener is because it makes the resin much easier to use than standard resin. The MEKP catalyst used in standard fiberglass resin is a clear liquid. Because of this, there is no good way to tell when you've got the resin and hardener and mixed well enough. Because the SMC resin uses creme hardener instead(in either red, white, or blue), it's very easy to tell when you've got it mixed well enough. I've also found that the resin starts to change color as it catalyzes, giving you a warning that you've only got a few more minutes to work.
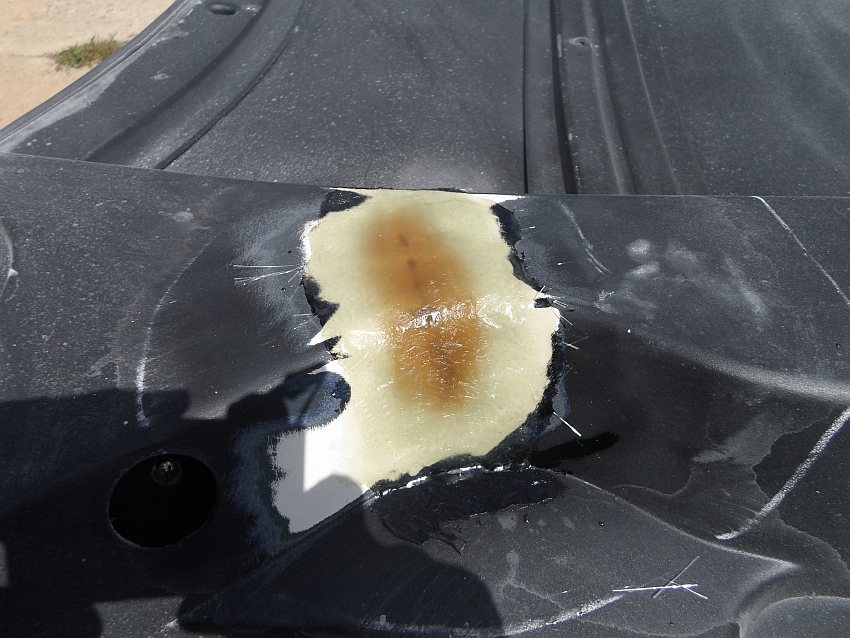
I built up the repair area with several layers of fiberglass. You can see because of the coloring how much thicker it gets towards the center of the repair area. It's built up to slightly above the original surface so it can later be taken down to the correct height. Because the bottom of the hood is more structural than cosmetic(and the hood pad covers much of it), the 'glass will be left at the finish height, any bondo that is used is more for filling pinholes in the fiberglass, and less for cosmetic flatness.
No comments:
Post a Comment