
Some tiny cracks around the scoop:

And this crack right here. This crack is very telling, and hints at the real extent of the damage. The important key here is that this crack appeared in an already repaired portion of the hood. It was not there when I got the car, but has appeared in the two years I've been driving it. This is a huge giveaway that it was not repaired properly the first time. I automatically assumed when I got the car that I would have to redo all the work that had been previously done. This crack confirms it.

If you remember way back, I painted over the striped portion of the primer spot with Plasti-Dip. It was a surprisingly effective way to hide the primer. With the stripes unbroken, the casual passer by didn't notice the primer. As I explained a bit then, aside from the zero prep work Plasti-Dip requires, one of the main reasons I used Plasti-Dip was it's easy removability. When you decide you don't want it there anymore, you literally just peel it off:

Under the Plasti-Dip, you can see more of the previous repair. Like the crack on the front edge, the sink marks weren't there when I got the car. Remember last post when I said standard primer surfacer shrinks? Here's visible proof. Standard two part urethane primer surfacers are still 25%-50% solvent, and it can take months for all the solvent to finally evaporate and for the primer stop shrinking. The thicker you put it on, the more it shrinks (which is why I love the virtually shrinkless Duratec). If you were to rush into paint, you'd now have these giant sink marks in your nice shiny paint.

That pretty much covers the top of the hood. The bottom side is also cracked. Even if I didn't have the visible cracks on the bottom of the hood, the crack appearing on the front edge tells me there's structural damage to it that needs to be fixed. So, off the hood had to come. It's not overly heavy, just big and awkward. You have no idea how hard it was to not drive the car through town like this...

Like I said, the bottom of the hood is cracked. But, it's not just cracked, it's cracked. I pulled the hood liner, and it's a good thing I did. The bottom of the hood is covered in cracks, many of them in the previously "repaired" areas, and many of them hiding under the hood liner.


And this one way up here towards the top of the hood, for no apparent reason...

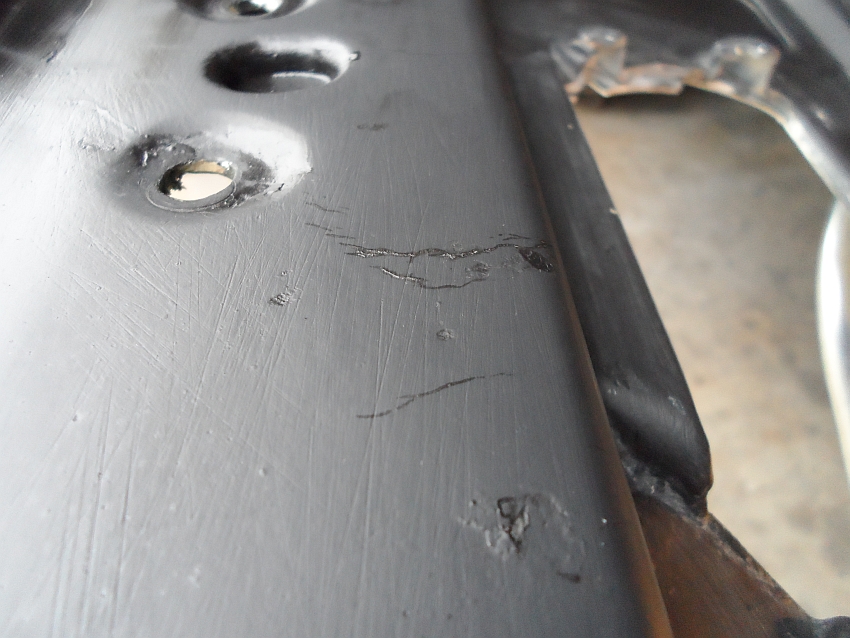
Many of the cracks are visibly bright white, so they're easy to spot. They're white because the broken edges of fiberglass vibrate against each other while driving, creating dust which then migrates out of the crack. But, not all cracks are so cooperative. There's an easy way to check for the less visible cracks too. A simple wipe down with mineral spirits will do. Wipe down the panel with a heavy dose of mineral spirits, then wipe it mostly dry. As the final bits of mineral spirits evaporates, any hidden cracks will seep mineral spirits onto the dry panel, making any small cracks show up. This is another one of the "repaired" areas:
No comments:
Post a Comment